So, you have bought your kids a power wheels car. However, you want to make sure they will not drive themselves into the real road.
Thankfully, there is a way to turn your power wheels car into a mega-sized remote-controlled vehicle. Not only is this safer for kids, it is also fun for you!
How will this help my family?
A remote-controlled power wheels car comes with many other advantages besides safety. It can also be useful if your child has not yet grown into their power wheels vehicle.
Some children might need a little extra help due to a disability or motor skills issues.
By the time you have finished reading this article, you will know everything you need to convert your power wheels ride into a remote-controlled car.
Estimated Project Time: One to two hours. Allow more time if you are new to converting power wheels products.
Estimated Project Budget: At least $50, though it can go higher depending on the servo and receiver brands you buy.
Table of Contents
1. Gather Your Tools Together
Before you get started, there are a couple of things you will need to buy or find:
- Your Power Wheels car (obviously!)
- Screws
- Double battery adaptors
- Large Servo
- Ordinary switches
- Receiver
- Transmitter
- Remote control (make sure it is compatible with Power Wheels cars)
- Remote control batteries (AAA or lithium)
What is a Servo?
A servo is a type of device used to gain control of whatever it is connected to. In this case, it will allow you to have control over specific aspects of your power wheels vehicle, including its speed, power, and steering.
This all sounds very technical, but converting your power wheels vehicle to remote control is a lot easier than it looks!
As for the tools you will need, they include:
- Screwdriver
- Drill
- Solder iron
- Electric tape
- Hand saw
- Wire cutters
- Spare wires
Make sure you have everything to hand before you start. As mentioned above, the budget for a project like this can vary, from under $75 to an expensive venture! It all depends on where you source your servo and receiver.
For example, you can buy a large servo online for as little as $40.
When it comes to buying receiver by brand, there is a wide range of good receiver brands to choose from online stores.
Shop around and see which ones may be appropriate for your power wheels product.
No matter the price of your servo and receiver, make sure you buy the highest quality ones accessible to your budget. This will ensure they last for hours of playtime!
The most important thing is that the receiver’s voltage matches that of your power wheels vehicle.
Otherwise, when you turn it on, your car will either not budge or its electrics will fry!
Everything else you need can be bought from your local hardware store.
TOP TIP: Don’t bother buying a new power wheels car if you are planning on converting it. Many parents are selling their old ones for a fraction of their original price.
This way, if you mess something up or your power wheels car gets dirty during conversion, you don’t have to feel bad about it!
Second-hand power wheels cars can be bought from community swap sites for less than $200.
However, new or old, it is best to clean your power wheels car before conversion. Dirt can block up the connections between wires and mess up the dashboard.
Also, no kid wants to play in a messy car!
2. Cut Away Unnecessary Parts
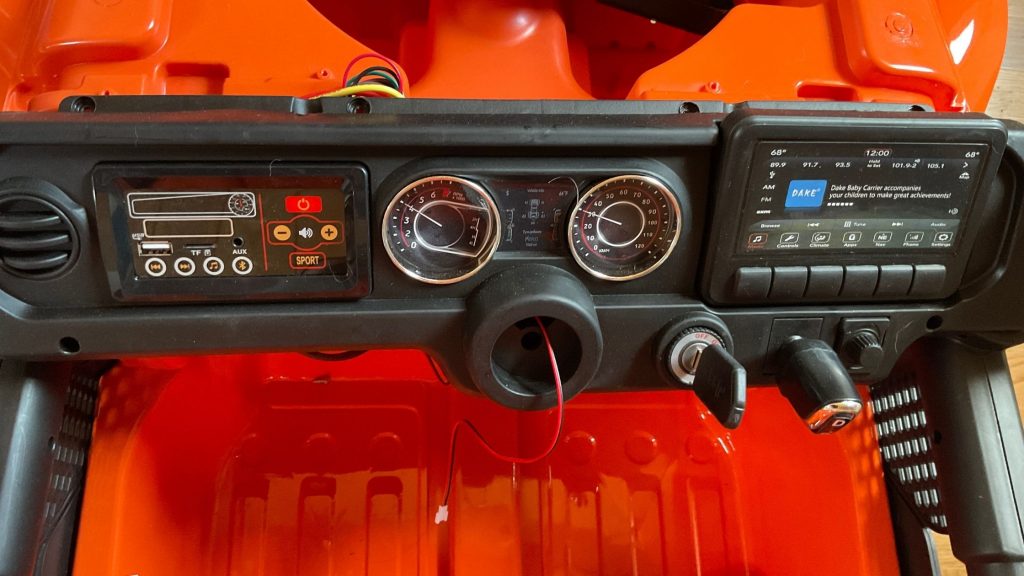
Now it is time to get into the nitty-gritty of converting your power wheels car. Some parts of the car will keep you from getting to the wires you need.
As these are located under the dashboard, you’ll need to cut out:
- The steering wheel
- The back bar (if any)
- The windows (if any)
- The seats
- The front grills
- The dashboard covering
When it comes to the steering wheel, you only need to saw up to the middle section, which you can then remove.
This will leave a circle behind, letting you know if you have taken away the right piece. This circle will also let you know where to attach the servo later.
As a general rule, anything between you and the wires you need to access should be put to one side.
Most of these wires are based in the dashboard area of your power wheels, but some will be running under the seat area.
After removing parts of your power wheels, make sure to put them to one side somewhere safe, as you will be reattaching them later.
What you need to remove to access the inner circuit system will depend on the model of your power wheels.
For quad bikes, the dashboard area will be under the quad bike’s seat. You will also not need to cut away the steering wheel, saving you a lot of time!
You will, however, need to lift off the entirety of the quad bike’s plastic covering to access this space.
When it comes to truck models, most of the wiring will still be under the dashboard, but the wires will have a longer way to reach between different sections of the car.
Bear this in mind and buy extra wires for necessary extensions.
Sports cars tend to be the same size as regular power wheels models, and have their wiring under the front dashboard.
If this is not the case with your model, please consult your power wheels instruction booklet.
Once that’s done, turn over your power wheels car, pop the four tabs that hold in the gas pedal, and remove it from the car.
Then use your handsaw to cut away all excess plastic surrounding that area. Don’t forget to remove the wires around the gas pedal as well.
WARNING: Throughout this conversion project you’ll be working with electric items. Be very careful and ensure your power wheels is fully turned off before starting.
For this very reason, it is vital that all the wires around the gas pedal are removed before you take the pedal out of the vehicle.
Also, make sure all your tools are functioning properly. If your hand saw is blunt or your drill old and faulty, they can easily slip and cause injury. Do not forget to wear goggles when drilling!
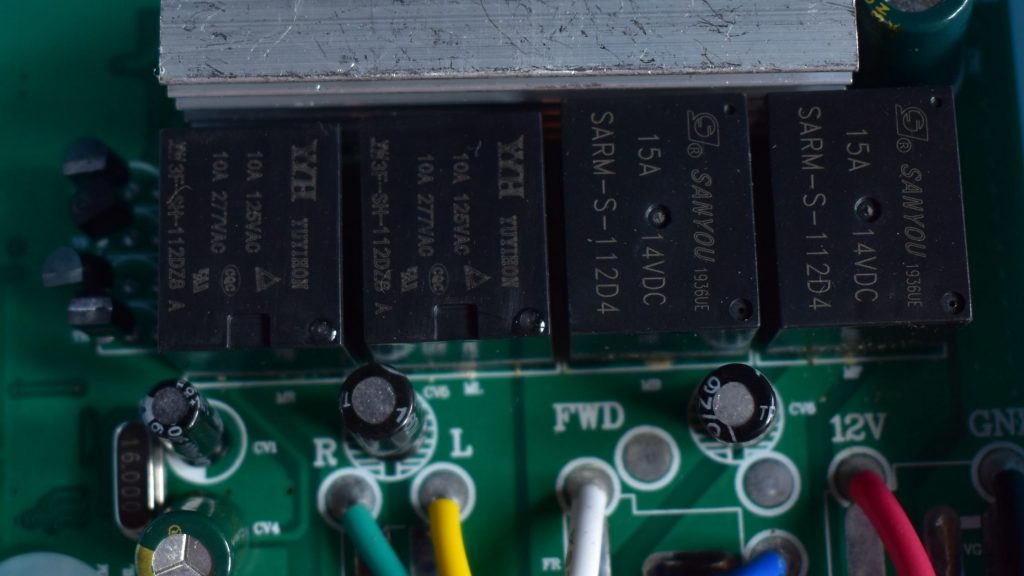
3. Get Rid of the Battery
Now you have removed all unnecessary components, it is time to focus on the battery of the power wheels car (see also ‘How To Upgrade The Battery In Power Wheels‘).
Unscrew the shift stick to access the battery. Remove the battery connector and cut the cables between the power wheels car and the battery adaptor.
You might be wondering how your power wheels car will run without a battery.
No worries, you can now put it under the rear seat. This will give you more room for attaching your servo.
The cables that you will need next are hidden under the dashboard of the power wheels car. These are the important ones for the next step.
If you are a beginner, you might be unsure what tech you need to buy to convert your power wheels car.
Thankfully, you can buy a remote-control conversion kit specifically made for power wheels vehicles. These are perfect for parents who are just getting started in the world of power wheels conversion.
The average conversion kit comes with:
- Remote control
- Gearboxes x 2
- Circuit board
- Pedal
- Switch
- Steering motor
- Overload protector
This makes it easier to convert your power wheels to remote control, as everything you need is in the kit.
Instead of making complex connections with different parts of the vehicle, all you need to do is link the right parts of the power wheels car with the right switches.
You can buy these kits for as little as $60, proving great value for money. However, the only disadvantage of these kits is that you have to buy your own batteries, as none are included.
4. Connect Your Servo
By now, your power wheels car can no longer be controlled manually. This leaves plenty of room for you to install your servo on the dashboard, which will allow you to control your power wheels car remotely.
Here’s where things can get complex, so follow the instructions carefully. Refer to the user manual for your servo and the instruction booklet for your power wheels car if you get stuck.
Attach a wire to the battery, putting the other end in a switch. You might need a longer piece of wire for this step. This switch then goes below the dashboard.
Find the plus signs on the servo. Use these signs to know where to position your servo on the dashboard. There should be places where you are able to drill your servo into the dashboard.
The best place to do this is around the edge of where the steering wheel will be reattached later.
After this, screw two pieces of wood into the dashboard, lining them up with the servo. Link these pieces of wood up to the servo using two lines of wire cable.
This will keep your servo attached firmly to the power wheels vehicle.
Your servo’s user manual will give you more information on how to connect your specific servo, but here’s some general tips below.
Treat it like a larger, more technical version of a jigsaw puzzle.
Which function you need to connect to which part of the power wheels car often matches.
For example, the movement of the power wheels depends on the foot pedal, while the on/off switch of the power wheels car connects to the power source of your receiver.
Refer to the table below to see which parts of the servo need to be connected to which parts of your power wheels car.
You may need extra wires to reach between certain sections of your power wheels vehicle.

5. Link up the Servo and Receiver
Next, it is time to link up your Servo and receiver so that you are able to control your power wheels car.
First, use your electric tape to stick the receiver on the dashboard. The next step is to find out which channel on your Servo you need to link the receiver to.
This is usually the first channel, but you can double-check this using the instruction booklet for your receiver. After this, turn on the receiver, then connect it to the battery.
All you need to do then is connect your receiver to your remote control. To do this, you turn on your power wheels car. Then press the middle button on your chosen remote control.
There should be three lights in the middle of the remote control that start blinking. This means that it is connecting with the receiver.
After a few seconds, your remote control and power wheels should be connected. If this doesn’t happen, you may have connected the wires wrong, so have another look to make sure they are right.
An additional option is to connect the servo with the second switch, allowing you to turn off the receiver. However, this is an optional step, and not necessary for the Power Wheels car to work.
Once you have checked (and triple-checked) that everything is wired up correctly, you can put your power wheels back together, using your drill and screws.
Make sure everything is reattached tightly so that it is safe for your child to ride in.
TOP TIP: Your kids can still take control of the driver’s seat, but only on your terms. Use the ‘P’ (Parking button) to choose when your kids can drive their power wheels car manually.
If you press the parking button and the lights are blinking, the car won’t start. If you press it again and the lights are solid, your kids can drive the car again.
Now it is time to test your power wheels out on the open road (or at least in your own backyard!)
6. Take It for a Spin!
So, you think you have got everything linked up? To be safe, it is best to take your power wheels car for an unmanned drive.
Choose somewhere with a wide space and no kids or pets to run into by accident, just in case you lose control of the vehicle.
Use the ‘S’ (Speed button) to control how fast your power wheels go. The lowest speed is indicated by only the lowest light on your remote control being on.
Press the ‘S’ button twice more to achieve the highest speed when all three lights are on.
Once you think it is safe, do another test run with your child in the front seat. This is to make sure their weight won’t affect the speed of the power wheels, or its connection to the receiver.
Once your power wheels car has passed these tests it should be good to go.
However, if any problems show up during these tests, get your power wheels car back into your workshop and have another look at it.
You may have connected the wrong wires together, or the circuit might not be all linked up. Refer back to your servo and power wheels vehicle user manuals to ensure everything is connected correctly.
Of course, you can always check to make sure you have the right batteries in your remote control!
Using lithium batteries in your remote control (if compatible) helps you to save a lot of money, since they are rechargeable and you won’t need to buy any more.
There you have it! In six easy steps, you have converted your power wheels car into a safe, fun toy for you and your kids.
Now go out there and have fun!


