All Power Wheels come with a gas pedal that switches off when released and on when pressed. Unfortunately, this gas pedal can get damaged with time.
Therefore, instead of replacing it with a similar one, you can opt for a variable-speed pedal. This throttle gives your kid more control, but installing it can be challenging for most parents.
Table of Contents
What Is a Variable Speed Pedal?
A variable throttle functions just like a normal car’s acceleration pedal. The harder your kid presses, the faster the Power Wheels go. This upgrade will leave your kid feeling like a real driver.
It will also give them full control over the car and the ability to improve their driving skills. But make sure you install a braking pedal to help stop the car.
The only downside for the variable speed pedal is that it’s time-consuming and will require regular service. And that is because overusing the car’s controls can result in part failures, so you may end up repairing it regularly.
How to Install the Variable Speed Pedal?
Step 1: Remove the Car Seat
To access the factory wiring, you need to disassemble the top part of the toy car by removing the seat and any other panel that may prevent you from accessing its wiring.
Some of the useful tools for this step include a long Phillips screwdriver and a flat head screwdriver. Some of the screws holding the panels in place are covered with a sticker, so make sure you remove the sticker, unscrew the screws, and then safely remove the body panels.
After removing the body panels, you can remove the factory wiring in the toy car, except the motor leads. Unplug the factory gas pedal, but leave the factory harness and shifter.
Step 2: Install the Relays, Controller, and Batteries
The toy car’s relay and controller must be positioned near the motor’s wires. So make sure the place where you install them won’t be exposed to water and add holes on the toy car’s floor to help drain rainwater so that it doesn’t damage the relays and controllers.
But if you rarely leave it outside, then you don’t have to worry about the holes. The best place for installing the relay and controller is usually between the motors or under the seat.
Remember, the motors tend to move a bit when the car is being driven, so you should avoid close contact between the relay and controller and the motor’s lead.
If possible, the battery should also be installed in the rear part of the toy car. So you should create space for the battery and attach it to the car using the battery mounting loops or Velcro strap. Make sure the battery is safely secured.
Otherwise, if it moves while driving, it can easily damage the other parts of the toy car and wirings.
Connect the voltage regulator, relays, motor controllers, and the kill switch on the bench as per the manufacturer’s instructions and then mount it in the toy car.
Step 3: Mount the Variable Speed Pedal and the Brake Pedal
To install these pedals, you may have to cut the floor of the toy car using a drill with its cutting bit, box cutter, vibrating saw, and a Dremel tool.
You can install the pedals with their hinges on the bottom or top of the hole. And for increased mounting options, you can bend the pedal lever and mounting tabs when installing them. Channellocks can come in handy when bending the pedals.
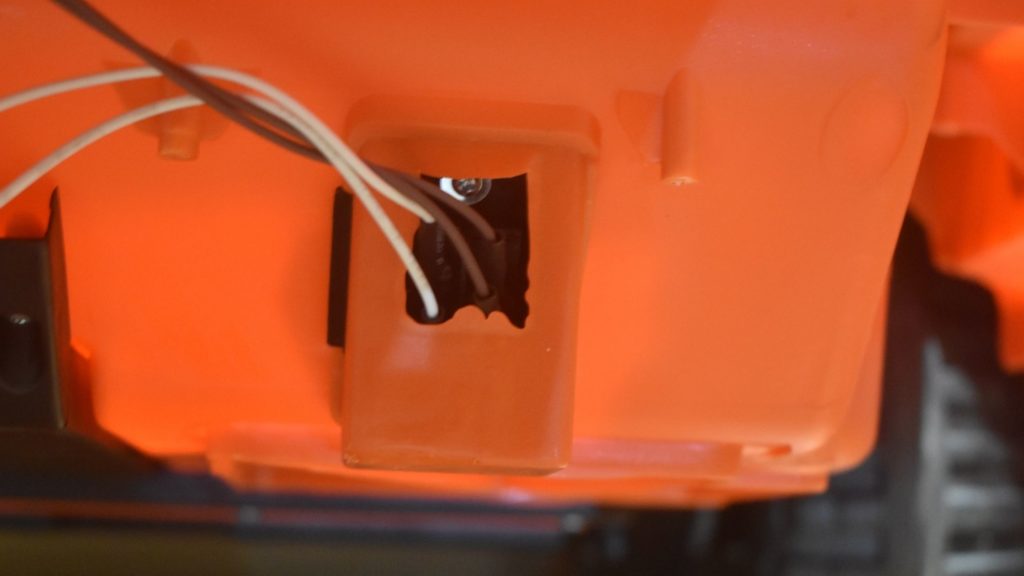
After installing the pedals, you can run the wires through the factory wire channels and connect them to the power block.
Step 4: Mount the Charging Port and Power Switch
The best tool for making these holes is the variable drill bit, but make sure you measure the exact size of the holes for the power switch and charging port.
Make sure you consider the parts behind the place where you’re drilling. After installing these parts, you can connect their wires to the car’s power block. You can run the wires through the factory wire channels and holes instead of leaving them hanging.
And make sure you don’t run the wire next to the movable parts of the car. Run the shifter’s wires to the shifter, but leave the connection loose until when you start the testing phase.
Step 5: Connect the Battery
After making all the connections, you can confirm the battery’s polarities before connecting it. After all, reversing its polarity can damage the car’s controller. The negative module must be connected to the negative side of the battery and vice versa.
If you’re using two batteries, then this is the right time to connect them in series by connecting the positive and negative of the battery 1 and 2 together. So if you have two 12 V batteries connecting them in series will provide 24V to the car’s controller.
But make sure the power switch is not switched on when making the final battery connection.
Step 6: Test the New System
Turn on the power switch, and you will hear a click indicating that the controller is powered and doesn’t detect any issue with the system. If the controller doesn’t produce the clicking system, you can switch the car off and confirm if all the connections are installed properly.
The minimum connections that are normally required for the controller to power are the throttle and brake pedals, power switch, and batteries.
After confirming that all the connections are ok, you can lift the rear wheels and press the throttle pedal. Both wheels should spin forward when you press the pedal. But if they spin in reverse, then it means that you have to reverse the motors’ leads in the relay group and then test the toy car again.
Next, confirm if the brake pedal works by pressing it. The toy car should stop instantly as soon as the breaking relay is activated.
Switch the car on and then shift to reverse, and then reconnect the shifter. The shifter has three switches, with each having six terminals. The terminals are separated by a line with three on top and three on the bottom.
Try and attach the shifter to the terminals until you find the one that allows the car to produce a buzzer sound when reversing. Attach the wires and then shift to forward gear and confirm that the buzzing reverse sound stops.
Step 7: Reassemble the Toy Car
Once you have confirmed that everything is working correctly, you can secure the wires using a zip tie. The zip tie will prevent the wires from moving around when your kid is driving their car.
Reassemble the car making sure that you don’t force the panels in place.
Final Thoughts
As kids grow, they tend to perfect their driving skills and need more control and speed. Therefore, you should be ready to upgrade your kid’s power wheels if you want him to feel like he is driving a real car.
Instead of the normal factory gas pedal, you can install a variable speed pedal that gives him more control over the car and a braking pedal. And with the right tools and the best electronic speed control kit that features a variable speed throttle, your kid will be having fun with their friends in no time.